File Conversion Checklist: 8 Steps Before You Convert
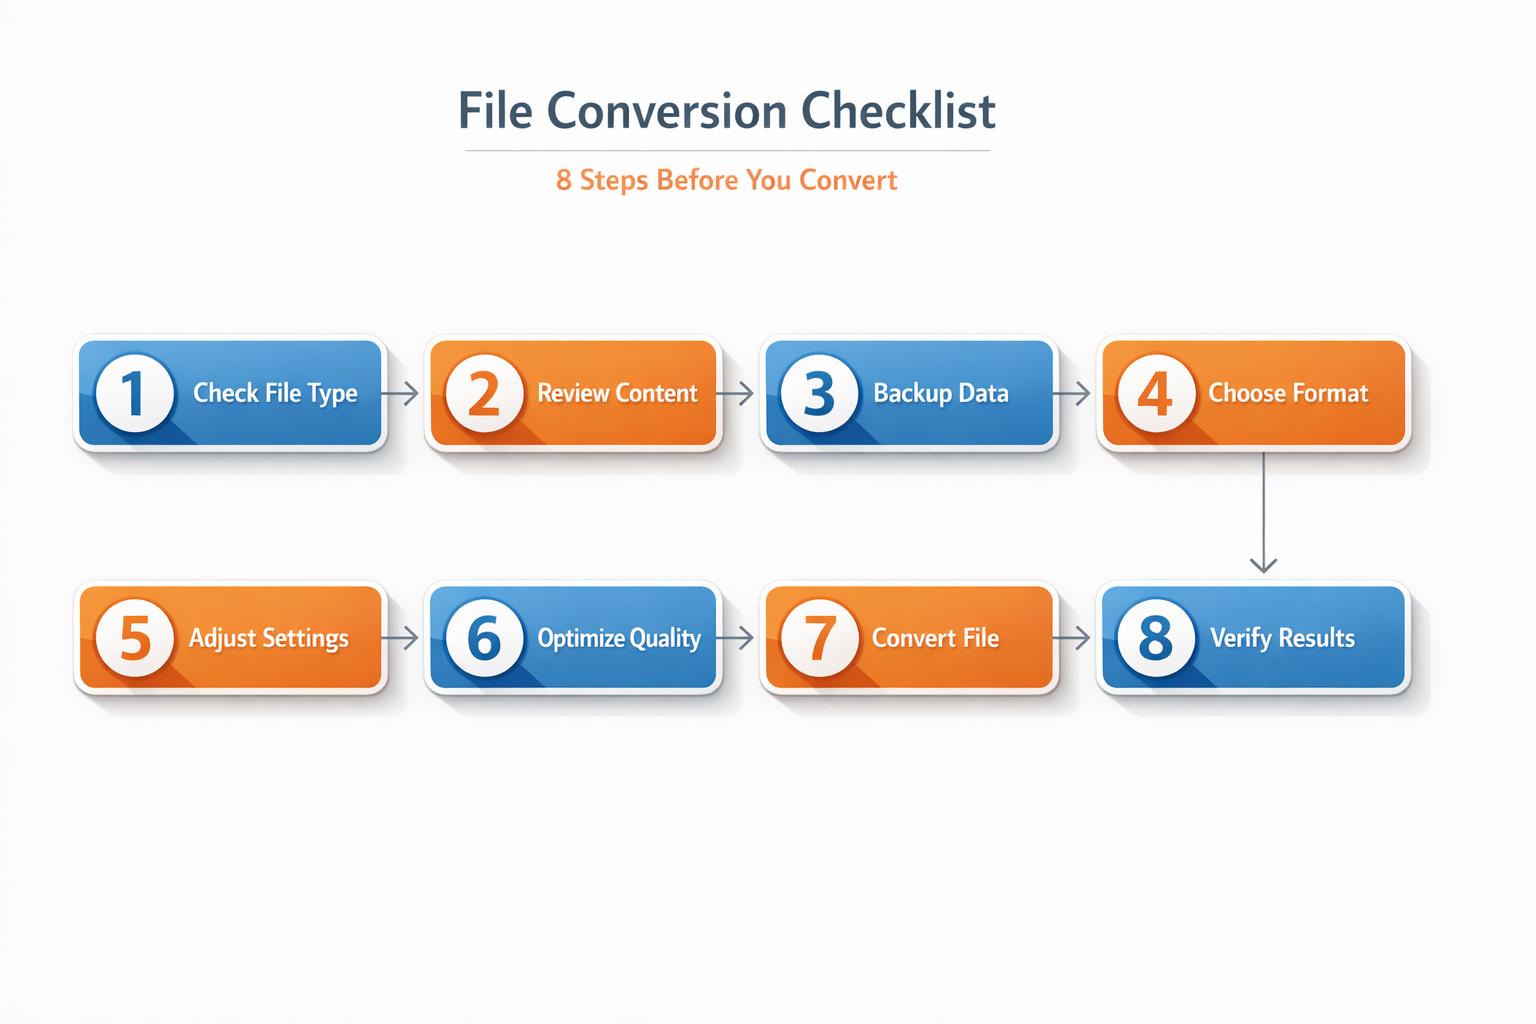
File conversions can go wrong if you're unprepared, leading to lost data, broken formatting, or even security risks. Whether you're handling sensitive documents or large batches of files, following a structured process ensures smooth and secure results. Here's a quick breakdown of the 8 essential steps to prepare for file conversions:
- Check Format Compatibility: Confirm your source and target formats are supported and understand potential changes, like image quality loss or unsupported features.
- Back Up Files: Use the 3-2-1 backup strategy to protect your data before starting the process.
- Review File Quality: Ensure files are readable, properly formatted, and free of issues like low resolution or uneditable text.
- Confirm Security and Compliance: Identify sensitive data, redact where necessary, and verify the conversion service's encryption and compliance standards.
- Choose the Right Plan: Match your needs (file size, batch processing, etc.) with the appropriate ConvertHub plan.
- Prepare for Batch Processing: Organize files with clear names and test a small batch to troubleshoot potential issues.
- Plan Output Storage: Use secure storage solutions and follow a consistent file-naming system for easy management.
- Verify Converted Files: Double-check the layout, text, and functionality of the converted files to ensure quality.

8-Step File Conversion Checklist for Secure and Accurate Results
Step 1: Check Format Compatibility
Identify Your Source and Target Formats
Before diving into file conversion, make sure your file types are compatible. ConvertHub supports over 800 file formats across various categories, including documents, images, videos, audio files, e-books, archives, CAD files, and fonts. However, not every combination is possible - especially with specialized formats like CAD files or proprietary software outputs.
Start by identifying your specific conversion pair, such as DOCX to PDF, PNG to JPG, or MOV to MP4. Be mindful of what might change during the process. For instance, image compression can lower quality. As Aaron Riddle, a Digital Transformation Consultant at Revolution Data Systems, advises:
"Decisions regarding the file format of the output files are critical and must be addressed early in the project planning stage".
Some features may not carry over. For example, PNG transparency won't survive in a JPG, and scanned PDFs need OCR (Optical Character Recognition) to become editable. Since ConvertHub doesn’t support OCR, any PDF that's essentially an image of text will remain non-editable and non-searchable after conversion.
Once you’ve confirmed your file types and any critical elements, the next step is to check ConvertHub’s specific settings for your conversion.
Review ConvertHub's Format Support
Head to ConvertHub’s tool page to verify support for your exact file pair. While the platform handles most popular formats - like DOCX, PDF, XLSX, CSV, ODT, and RTF - it’s always a good idea to double-check compatibility for less common formats, such as KEY or PAGES.
Take advantage of advanced settings to fine-tune your output. For images, you can adjust the DPI (standard is 300 DPI, but you can go up to 1,200 DPI for high-quality prints). For documents, explore layout and font options to ensure a polished result. Finally, keep an eye on file integrity - password-protected or corrupted files may not convert successfully.
Step 2: Back Up Your Files
Save Backup Copies
Before diving into file conversion, it’s smart to create a safety net for your data. Did you know that 40% of companies without proper backups fail during disasters? That’s a sobering statistic, and it highlights why having backups is non-negotiable. File conversions can sometimes go sideways due to software hiccups, power outages, or even accidental overwrites.
A tried-and-true method is the 3-2-1 backup strategy:
- Keep three copies of your data.
- Use two different storage types (e.g., your computer and an external drive).
- Store one copy off-site, ideally in the cloud.
For example, you could save your original files on your computer, copy them to an external hard drive, and upload a third set to cloud storage. If the files are especially critical, consider storing that off-site copy at least 100 miles away to guard against regional disasters.
Don’t just assume your backups are good - verify them! Check file sizes, dates, and open a few files to confirm they’re readable. This extra step can save you from discovering corrupted backups when it’s too late. Andy Kerr from Acronis sums it up well:
"Data backup is the process of copying and storing data so it can be recovered after loss, corruption, or attack".
Once your backups are secured, you’ll be ready to move forward. But first, let’s talk about organizing those files.
Organize Files with Clear Names
A messy folder structure can make file conversion a headache. To keep things smooth, adopt a consistent naming convention. For instance, a format like "Project_Name_12_29_2025" works well - it’s clear, searchable, and includes the date in MM_DD_YYYY format for easy sorting.
Before starting the conversion process, group your files into high-level folders with logical sub-folders. For example:
- Marketing_Materials
- 2025
- December_Campaign
- 2025
Also, take a moment to delete duplicates. A well-organized folder structure paired with clear file names can save you time and reduce stress, especially when you’re dealing with dozens - or even hundreds - of files at once.
Step 3: Review File Quality
Check File Readability and Resolution
After preparing and backing up your files, it’s time to evaluate their quality. Why? Because the clarity and formatting of your original document directly influence the conversion results. A blurry scan or a poorly formatted file will only lead to frustration and subpar outcomes.
Start by testing if the text in your file is selectable. Try highlighting a sentence. If the entire page highlights as one large block (often in blue or yellow), your computer is treating the document as an image rather than text. That’s a clear sign the file isn’t ready for conversion.
Next, confirm the resolution is at least 300 DPI. Here’s how: open the file in Adobe Acrobat and zoom in to 300%. If the text remains sharp and readable, the resolution is adequate. Alternatively, you can check the file’s properties. On Windows, right-click the file, select “Properties,” then go to the “Details” tab. On a Mac, right-click and choose “Get Info,” then look under “More Info” to find the resolution.
Before proceeding, scan the document for any visual obstructions. Look for things like highlights, handwritten notes, staple marks, shadows, or edges that have been cut off. These can interfere with the conversion process by obscuring the content. Additionally, ensure there are no editing marks, such as comments or tracked changes, left in the file. For scanned documents, make sure the pages are properly aligned - crooked scans can lead to layout issues and recognition errors.
Once you're confident the file is in good shape, you can turn your attention to text recognition and understand the limitations of OCR technology.
Know the OCR Limitations
It’s important to note that ConvertHub does not include OCR capabilities. This means if your PDF is image-based - like a scanned or photographed document - the text will remain non-editable.
The University of Illinois highlights a key limitation of OCR technology:
"OCR software cannot recognize handwritten documents with any degree of accuracy."
OCR struggles with more than just handwriting. Fonts that are highly decorative or archaic, text smaller than 6 points, and low-contrast documents (where the text blends into the background) can all cause issues. For older or discolored documents, scanning in RGB mode can help capture more image data, improving the chances of successful processing.
Since ConvertHub doesn’t support OCR, the best approach is to ensure your original file already contains selectable and editable text. If it doesn’t, you’ll need to address this before beginning the conversion process.
Step 4: Confirm Security and Compliance
Identify Sensitive Data
Before uploading any documents, it's crucial to identify which ones contain sensitive information. Start by categorizing your files to determine if they include PII (Personally Identifiable Information), PHI (Protected Health Information), PCI (Payment Card Information), or IP (Intellectual Property). The U.S. Department of Labor defines PII as any data that can be used to trace an individual’s identity. Sensitive PII, such as Social Security numbers, biometric data, or medical records, carries a higher risk, but even non-sensitive PII can pose threats when combined. For example, research reveals that 87% of U.S. residents can be identified using just their gender, ZIP code, and date of birth.
The financial impact of data breaches is staggering, with the average cost reaching $5.68 million in 2024. Beyond financial losses, violations can lead to hefty fines, such as Amazon's $888 million penalty in 2021. And with 75% of countries now enforcing data privacy laws, understanding and managing the data in your files is no longer optional - it’s a necessity.
For files containing highly sensitive information, redact or mask critical details locally before uploading. Use the principle of data minimization: only convert and upload the specific information required for your task.
Review ConvertHub's Security Measures
Once you’ve identified sensitive data, the next step is to ensure your chosen conversion service meets robust security standards. ConvertHub, for instance, uses 256-bit encryption, automatically deletes files within 24 hours, and complies with GDPR regulations.
To verify the service’s security, look for the padlock icon and "https://" in your browser’s address bar, which indicate proper SSL encryption.
If your organization deals with regulated data, it’s important to align with industry-specific compliance standards. For example:
- Healthcare organizations must adhere to HIPAA rules when handling medical records.
- Businesses processing credit card data need to comply with PCI DSS standards.
- Government contractors managing defense-related documents must meet NIST SP 800-171 and CMMC requirements.
Review the service’s privacy policy to check how data is retained and whether it’s shared with third parties. If you're unsure about the safety of converting sensitive files online, start by testing the service with non-confidential documents. Once you’re confident in its security and compliance, you can gradually scale up to handling more sensitive materials.
Step 5: Select the Right ConvertHub Plan
Compare Plan Options
Once you've secured and reviewed your files, it's time to pick the ConvertHub plan that best suits your conversion needs. Choosing the right plan ensures you can handle your workload smoothly and efficiently.
ConvertHub offers three tiers to match different user requirements:
- Free Plan: Convert one file every 24 hours, with a maximum file size of 100 MB. Ideal for light, occasional use.
- Subscription Plan: Starting at $9 per month, this plan provides monthly credits (which roll over if unused), supports files up to 2 GB, includes priority processing, batch conversion, and 5 GB of storage.
- Pay-As-You-Go Plan: Starting at $10, this option offers credits that never expire, supports files up to 200 MB, and includes 1 GB of storage.
Beyond file size and storage limits, there are other key differences. Free users often experience slower processing and longer queues, while paid plans eliminate these delays entirely. As Robert Massart from Peernet explains:
"Almost all free file conversion sites will stamp some sort of mark on the outputted, converted document. This can look highly unprofessional if you're using the document for anything related to business purposes".
With ConvertHub, all paid plans ensure watermark-free conversions.
Match Plans to Your Needs
The type and volume of files you handle should guide your plan choice. If you're only converting a document like a resume or contract occasionally, the Free Plan's 100 MB limit might be all you need. However, if your work involves high-resolution images, engineering blueprints, or video files, the Subscription Plan's 2 GB capacity is a better fit. For context, standard scanning typically uses 300 DPI, but projects requiring 600 DPI or higher create much larger files that exceed the Free Plan's limits.
For businesses or professionals managing multiple files at once, batch conversion is a game-changer. The Subscription Plan supports folder uploads and ZIP files, which can save hours compared to converting files one by one. Developers looking to integrate file conversion into custom applications can benefit from ConvertHub's API, which offers flexible, usage-based pricing.
Before committing to a paid plan, it’s wise to test the service with a free conversion. This allows you to confirm that ConvertHub meets your specific needs for formatting, fonts, and layout. A quick trial run can help avoid costly mistakes when scaling up to larger projects. Once you've selected the right plan, you'll be ready to streamline your workflow further by preparing for batch processing in the next step.
sbb-itb-ba72479
Step 6: Prepare for Batch Processing
Group Files for Batch Conversion
Getting your files organized is key to making batch processing efficient and hassle-free. Without proper preparation, even the best tools can lead to confusion and delays. To keep things running smoothly, start by grouping files based on their format and complexity. For example, text-heavy reports will convert differently from spreadsheets with formulas, and documents with mathematical equations or code snippets might need extra attention. Also, separate native digital files from scanned documents that require OCR (Optical Character Recognition), and eliminate files with issues like highlights, handwritten notes, or cut-off edges.
Stick to a clear and consistent naming convention. Use letters, numbers, hyphens, and underscores - avoid spaces or special characters. For better organization, add leading zeros (e.g., Invoice_001.pdf) to maintain proper order. Keep filenames short (under 25 characters) and, for chronological sorting, use the ISO 8601 date format (YYYY-MM-DD).
Once files are grouped and named, run a sample conversion to identify any potential problems before moving forward.
Test Before Scaling Up
Before diving into large-scale conversion, test with a small batch of 5-10 files to ensure everything works as expected. Open the converted files in a standard viewer like Adobe Acrobat Reader to check readability and formatting.
Make sure key elements, such as headings, bullet points, and tables, remain intact after conversion. For scanned documents, experiment with resolution settings. A lower resolution, like 100 dpi, can reduce file size while maintaining clarity, but higher resolutions (300 dpi or more) might result in larger files and slower processing times.
If you're automating the process with ConvertHub's API, set up error-handling protocols and retry mechanisms. Track metrics like processing time, success rates, and any failed conversions to refine the workflow.
As highlighted by AnythingMD:
"The investment in proper document conversion pays dividends in AI performance"
Thorough testing ensures you’re set up for success before scaling up your operations.
Step 7: Plan Output Storage
Choose Storage Locations
Once you've confirmed that batch processing is running smoothly, it's time to figure out where to store your converted files. A good rule of thumb is the 3-2-1 rule: keep three copies of your data, store them on two different types of media, and make sure at least one copy is off-site or in the cloud.
For active projects, your local drive is a solid starting point. For collaborative work, cloud storage options like Google Drive or Dropbox are excellent choices since they offer automated backups and version history. If you're handling sensitive data, consider adding an extra layer of security by using encrypted external hard drives or USB devices that can be stored off-site. In team settings, networked storage systems (NAS or servers) can be helpful, as they allow you to control access permissions, ensuring only authorized users can view specific files.
Make sure you have enough storage space, especially if you're dealing with high-resolution scans or full-color images, as these can take up significant room. For long-term storage, stick to open, non-proprietary formats like PDF/A for documents, TIFF for images, or CSV for data. These formats help ensure your files remain accessible even as software changes over time.
Once you've decided on a storage location, the next step is to establish a clear system for naming and organizing your files.
Create Naming Standards
A consistent naming system makes it easier to organize and locate files. Start by using ISO 8601 date formats (YYYY-MM-DD) at the beginning of filenames. Include leading zeros for version numbers to ensure proper sorting. For example: 2025-12-29_ContractReview_v01.pdf. As Harvard Data Management explains:
"The computer arranges files by name, character by character. Therefore, put the most important information first."
Stick to simple characters like letters, numbers, hyphens, and underscores. Avoid spaces and special characters, which can cause compatibility issues. Keep filenames concise - ideally under 40–50 characters - and include a readme.txt file in your main directory to document your naming conventions for future reference.
Consistency is key. Using inconsistent terms for similar files (like "Lease" versus "Rental Agreement") can create confusion and undermine your entire organization system. A little effort upfront to standardize your approach can save significant time and frustration down the road.
Step 8: Verify Converted Files
Verify Layout and Content
Once your files are organized and stored, the next crucial step is ensuring the converted documents meet quality standards. After conversion, check that the output closely matches the original. Start with a "Highlight Test" - try selecting text on the page. If the entire page highlights as one block, the file was converted as an image and isn't searchable. In such cases, you'll need to process the file with OCR (Optical Character Recognition) if editable text is necessary. This step ensures the file's integrity and preserves essential formatting.
Pay attention to font consistency. Fonts should either match the original or be replaced with standard alternatives like Arial, Calibri, or Times New Roman. Also, confirm that lists, tables of contents, bookmarks, and tables maintain their structure and formatting.
Check that hyperlinks are functional and descriptive, images display at appropriate resolutions, and fillable forms work correctly when navigating with the Tab key. Eliminate any visual artifacts and ensure metadata - such as Document Title, Author, and Language - matches the source file.
Use a Review Checklist
Manual comparisons can be time-consuming, so streamline the process with a checklist to validate key elements:
| Verification Category | What to Check | How to Check It |
|---|---|---|
| Text Content | Accuracy of words, missing or extra text | Online Diff Checker |
| Layout/Structure | Proper heading levels (H1-H6), list formatting, table alignment | Reading Order Panel |
| Media Quality | Image resolution (DPI), Alt text, image accuracy | Visual Inspection / Acrobat Pro |
| Navigation | Bookmarks, hyperlinks, table of contents functionality | Manual Testing |
This checklist helps you quickly identify and address any conversion issues.
If you encounter formatting problems, the best approach is to return to the source document. Fix the issue in the original software, such as Microsoft Word or InDesign, and re-convert the file using a different method. Avoid using "Print to PDF" for conversions, as this method strips out accessibility features, tags, and hyperlinks. Instead, opt for "Save As" or "Export". If the original file isn't available, professional PDF editing tools can help you make direct adjustments to text, images, or structural tags. However, keep in mind that some edits in these tools lack an "undo" function, so save your progress frequently.
The Digital File Conversion Roadmap
For high-volume workflows, you can automate file conversions with n8n to streamline your processing pipeline.
Conclusion
File conversion doesn’t have to be complicated. By following this 8-step checklist, you can safeguard your data, maintain quality, and steer clear of unnecessary rework. Each step tackles a specific hurdle - like ensuring format compatibility, backing up files, checking output quality, and organizing storage. This approach is grounded in the best practices shared earlier, offering a reliable way to handle file conversions.
ConvertHub makes the process even easier. It offers features like 256-bit SSL encryption for security, automatic file deletion, support for over 800 file formats, efficient batch processing, advanced DPI and layout settings, and seamless cloud storage integration.
"File conversion doesn't have to be a headache. By avoiding common errors, you'll save time, improve quality, and avoid unnecessary do-overs." - A2ZConverter
Whether you’re converting a single file or managing a large batch, preparation is everything. Start with small test batches and verify the results right away. With ConvertHub’s GDPR-compliant infrastructure, you can trust your workflow is secure from start to finish.
FAQs
What can I do if my converted file looks different or loses quality?
If the converted file seems to have lost quality or certain features, the first step is to examine the original file. Ensure it's in good condition - high-quality, error-free, and properly formatted. For text-based files, you might want to use OCR (Optical Character Recognition) or convert the file into a Tagged PDF before attempting the conversion again.
After that, take a closer look at your conversion settings. Tweaking options like resolution, file format, or compression levels can often improve the final output. If the problem continues, consider switching to a tool designed specifically for high-quality file conversions. Using the right settings and software can go a long way in preserving the accuracy and quality of your files.
How can I protect my sensitive data during a file conversion?
To keep your sensitive data safe during file conversion, here are some key precautions to take:
- Use a strong password: Before converting your file, secure it with a robust password. Combine uppercase and lowercase letters, numbers, and symbols to make it harder for unauthorized users to access.
- Encrypt your file: If you're transferring the file between devices or uploading it to cloud storage, make sure it’s encrypted. This adds a layer of protection against unauthorized access during transit.
- Strip hidden metadata: Before sharing the converted file, remove any hidden metadata. This step helps prevent accidental exposure of details like the document's author or creation date.
- Keep a secure backup: Store a copy of your files in a safe location, such as an encrypted external drive or a reliable cloud service that offers encryption for stored data. This protects your information in case of accidental loss.
Taking these steps can help ensure your data stays secure throughout the file conversion process.
What are the advantages of using batch processing for file conversions?
Batch processing is a game-changer when it comes to handling multiple files. It lets you convert several files at once, drastically cutting down the time you'd spend converting them one by one. Plus, it automates the process, freeing you up to focus on other priorities while ensuring all files maintain the same formatting, layout, and security settings.
Beyond saving time, batch conversion also helps with storage. It can combine files into smaller, more manageable formats, making them easier to store and share. On top of that, it boosts data security by applying features like password protection or redaction to every file in the batch. These benefits not only simplify workflows but also improve accuracy and reduce effort - especially when you're dealing with large-scale projects.